As soon as the Raspberry Pi Pico came out accompanied by the Pimoroni Keypad, people started making MIDI controllers with it. So far, most of the ones I’ve seen have used the USB MIDI library from Adafruit for Circuit Python, but I wanted to get some “real MIDI” out of it, so I’ve hooked one up to my Raspberry Pi Pico MIDI “pack” Interface.
In the video below, you can see it controlling my DIY Raspberry Pi, Clumsy MIDI and MT32-Pi synth module.
Warning! I strongly recommend using old or second hand equipment for your experiments. I am not responsible for any damage to expensive instruments!
These are the key tutorials for the main concepts used in this project:
If you are new to microcontrollers, see the Getting Started pages.
Parts list
- Raspberry Pi Pico
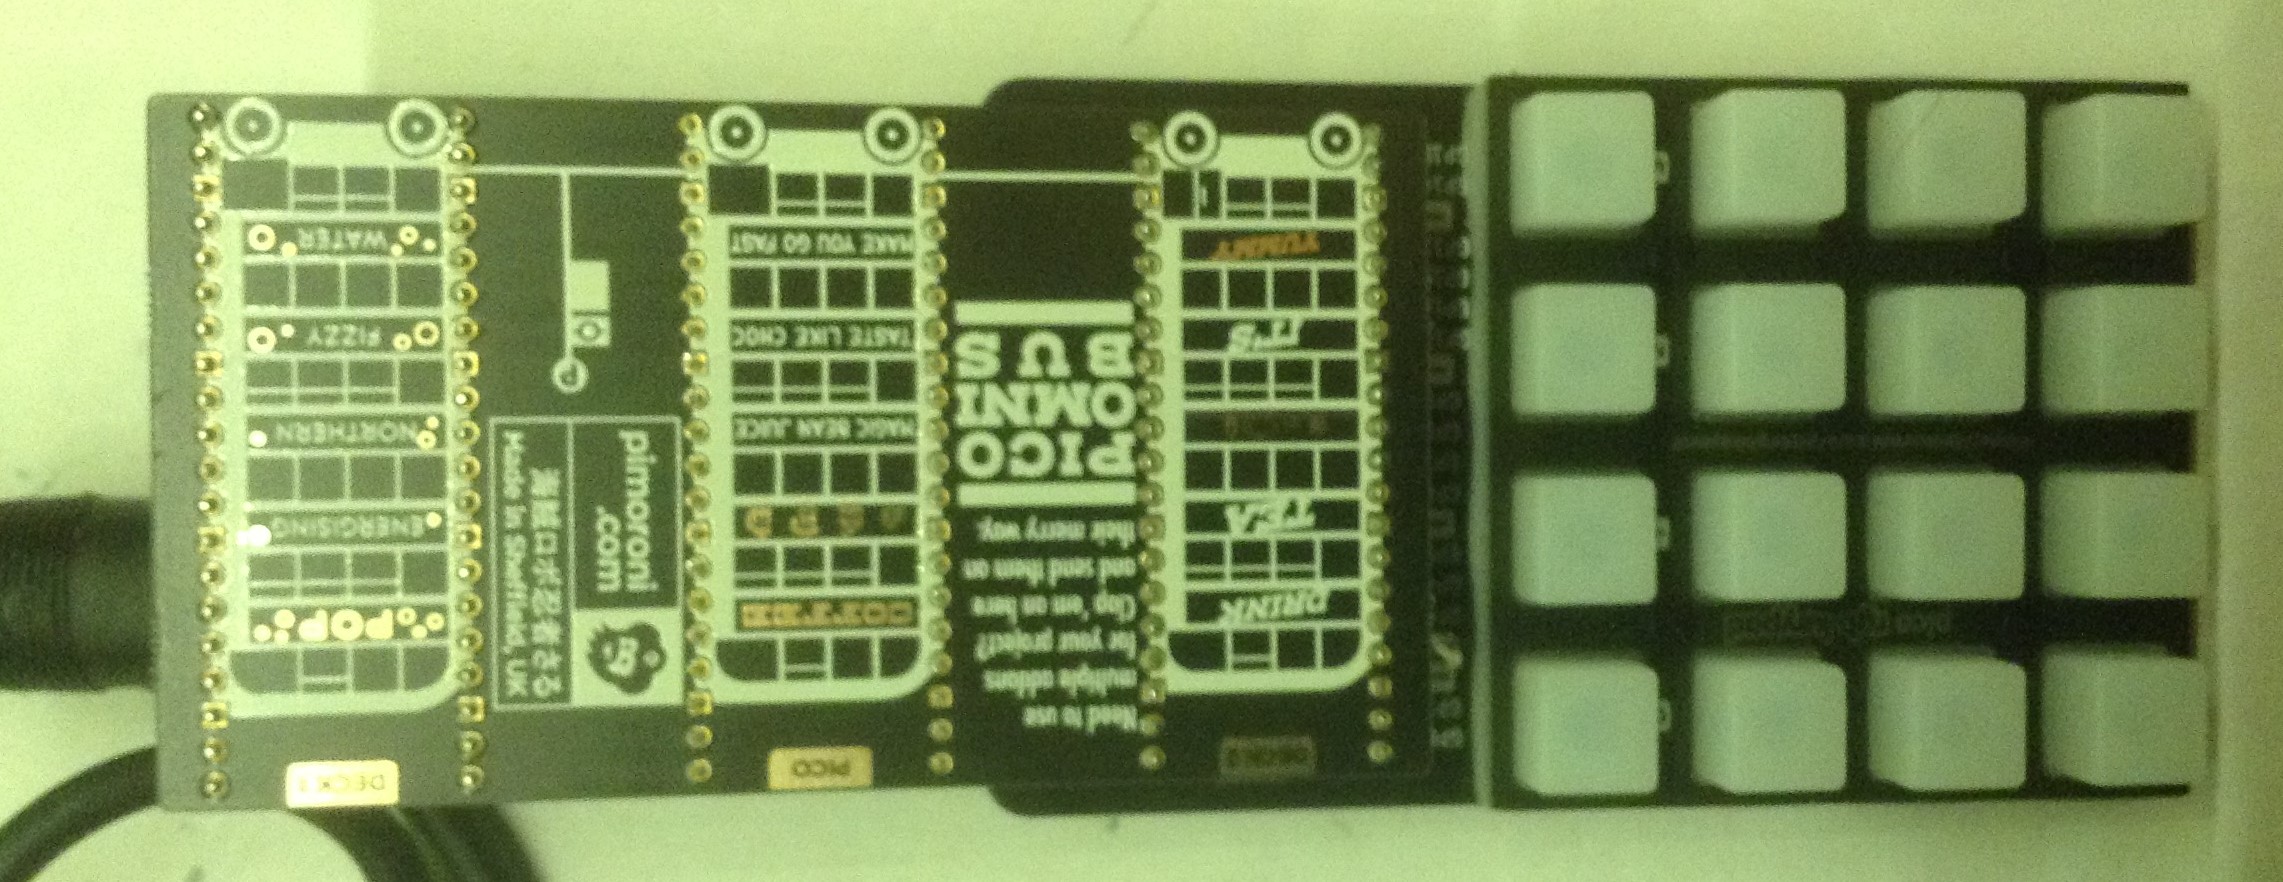
- Pimoroni RGB Keypad Base
- Pimoroni Pico Omnibus Dual Expander (optional)
- Raspberry Pi Pico MIDI “pack” Interface or other DIY MIDI Interfaces
- Something to control over MIDI and amplification as required
The Circuit
I’m using my MIDI “pack” configured for UART 0 and have used the Pimoroni “expander” to hook both that and the RGB Keypad to my Pico using the slightly unconventional method as shown below. Be sure to get the orientation of the connections correct! Double check where those power pins are linking up.

The Code
I can’t use the Adafruit MIDI library (easily) as it is designed for use with CircuitPython, not MicroPython, but at the time of writing, CircuitPython still doesn’t have support for the serial link (although I can see the uart code appearing in GitHub as I type this… so watch this space).
So this code uses MicroPython and it uses the version provided by Pimoroni which includes built-in support for their RGB Keypad (find details here).
But doing MIDI out is relatively straight forward, as we’ve seen before, so taking that and looking at the example code for the RGB Keypad, we can start to think about how best to implement a step sequencer.
The basic principle of operation is as follows:
- The keypad is scanned as often as possible whilst the MIDI is output on a regular schedule determined by the required tempo of the sequencer.
- The keys will light up to a colour that represents one of 16 notes to be played.
- Pressing a key will cycle it from not-playing through playing the 16 notes through to not-playing again. It steps on each single keypress.
- Pressing a key will also cause it to light up to the right colour and sound the note to be played so you can hear what you are doing as you program it in.
It has the option of sending a program change message to choose a voice too. The configurable options are set at the top of the file.
MIDI_CH = 1 # MIDI Channel 1 to 16
MIDI_VOICE = 33 # MIDI Voice Number 1 to 128
TEMPO = 240 # beats per minute
midiNotes = [
    0, 60,61,62,63, 64,65,66,67, 68,69,70,71, 72,73,74,75
]
I’ve set it up to simply play the 16 notes from C4 to D5# but these are set up in a list at the start so you can experiment with any scale you wish just by putting in different values here.
There are several lists as follows:
- midiNotes – as you’ve seen above is a list of which notes to play for each selection of the switch, with the first position being “don’t play”.
- noteGrid – this is the “playing” status for each key on the keypad. When it is 0 the note is not playing. When it is a value of 1 up to the number of midiNotes, it will play that note from the midiNotes list at the appropriate time.
I’ve used the time.tick_ms() to count milliseconds in the main loop to get a regular tempo for the sequencer. There is some slightly more complex handling of button presses to allow the notes to sound and lights to illuminate whilst the sequencer is still running. In the end I send more noteOff messages than I strictly need to, but it keeps the code simpler.
To work out what colour to use, I used some code from Sandy McDonald’s CircuitPython RGB Keypad USB MIDI controller, which you can find here.
I think that is about the lot.
Closing Thoughts
These add-ons make playing around with the Pico fairly easy and already if you can think of it, someone has probably already had a go at it, or at least is thinking about it.
It would be nice to start building in some knobs and buttons and I might see if I can pair this up with my Pi Pico PIO Poly Tone Keyboard somehow.
Kevin

