I’ve put together a simple shield to hold my VS1003 modules. This documents the build process so far.
- In the next part, I’ll add some potentiometers for control.
Warning! I strongly recommend using an old or second hand keyboard for your MIDI experiments. I am not responsible for any damage to expensive instruments!
These are the key Arduino tutorials for the main concepts used in this project:
If you are new to Arduino, see the Getting Started pages.
Parts list
- Arduino Uno
- Proto shield
- Female and male headers
- Jumper wires
The Circuit
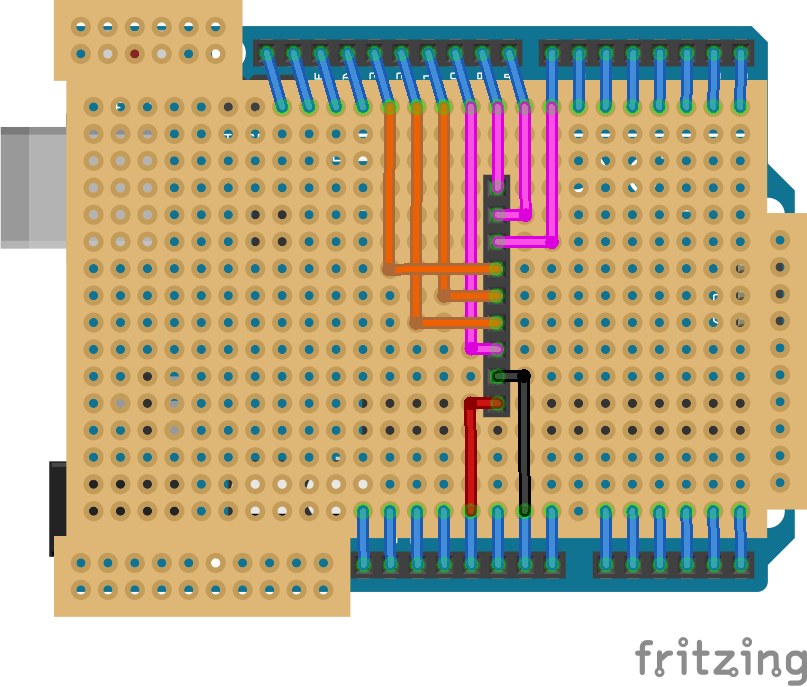
I’ve used the proto shield once again and soldering in a header across the board, leaving all of the analog inputs free and all of D0 to D6 free. This would also allow it to be used with the MIDI In-Out Half-Shield if I wished.
Here are some build photos of the PCB itself.


And here it is with the VS1003 plugged in an attached to an Arduino Uno. Note that I’ve only populated half of the Arduino headers, and used a single pin header in D7. I might change this later, but for now this gives me a usable shield without having to decide what to do with A0-A5 and D0-D6.


And finally, from the top.

I have to remember that the audio out from the shield is the jack labelled “Phone”.
The Code
This project is all about building the shield there is no new code. See the previous project for all code to drive the VS1003 shield.
Closing Thoughts
I will probably go on to add some headers for the analog ports and a MIDI link. In fact, I might duplicate that part from my Simple Synth IO Shield.
Kevin
