I’ve been playing with two versions of a cheap touchscreen but I haven’t so far put up a version of my mini Tenori-On for the “shield” variant.
This is a replay of my Arduino Touchscreen Mini MIDI Tenori-On but using the ILI9488 touch screen “shield” described here: Arduino Touchscreen X-Y MIDI Controller – Part 2 and the MCUFRIEND_kbv graphics library.
Warning! I strongly recommend using old or second hand equipment for your experiments. I am not responsible for any damage to expensive instruments!
These are the key Arduino tutorials for the main concepts used in this project:
If you are new to Arduino, see the Getting Started pages.
Parts list
- Arduino Uno
- “MCU Friend” style 3.5″ touchscreen shield for an Arduino Uno
- MIDI out interface (e.g. Ready-Made MIDI Modules)
The Circuit
I’m using the shield described here: Arduino Touchscreen X-Y MIDI Controller – Part 2, which looks like this:

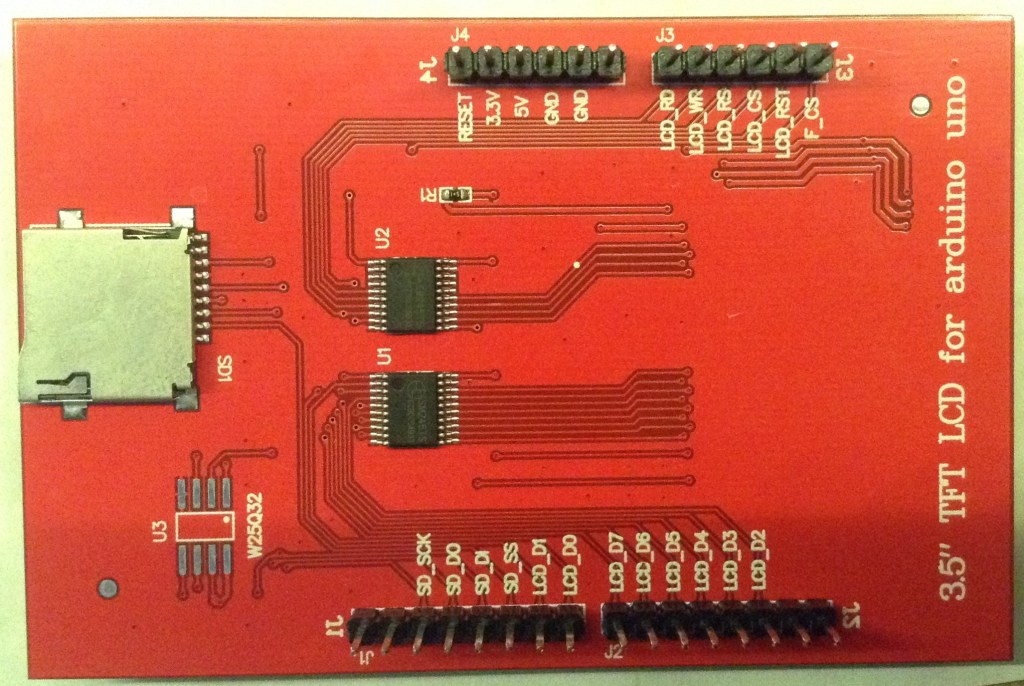
There are many different variants out there, but mine is one that is compatible with those designed by MCU Friend. In principle I guess anything that is compatible with the MCUFriend Library here could work: https://github.com/prenticedavid/MCUFRIEND_kbv.
A MIDI OUT circuit is required connected to the Arduino’s TX. Once again I’m using one of my Uno clones that has additional header pin breakouts for the UART as shown below.

The Code
This is using the majority of the code from the previous Tenori-On project here: Arduino Touchscreen Mini MIDI Tenori-On.
The only changes are those required to use the MCUFRIEND library which, once the calibration has been performed, actually simplifies the touchscreen and graphics handling significantly.
Closing Thoughts
For some reason, my original ILI9488 touch screen has stopped working, so it is really great to get the Tenori-On application running with my shield version.
It is also a lot more stable as it plugs in directly to the Arduino.
Kevin
