This is the build guide for the PCB version of my Raspberry Pi Pico Multi MIDI Router.

If you are new to microcontrollers, see the Getting Started pages.

Bill of Materials
- The Raspberry Pi Pico Multi MIDI Router PCB (GitHub link below)
- Raspberry Pi Pico
- 6x H11L1 optoisolator
- 6x 470Ω resistors
- 6x 220Ω resistors
- 6x 33Ω resistors
- 6x 10Ω resistors
- 6x 1N914 or 1N4148 diodes
- 6x 100uF ceramic capacitors
- 12x 5 pin DIN pcb mount sockets (see footprint and photos)
- Optional: 2x 20-way header sockets for the Pico
- Optional: 6x 6-way DIP sockets

Build Steps
This should be a relatively straight forward “low to high” through-hole components build. This is the suggested order of soldering:
- Diodes and resistors.
- 6-way DIP sockets (if used) or H11L1 directly (if no sockets).
- Capacitors.
- 20-way header sockets for the Pico (if used).
- Raspberry Pi Pico (if not using headers).
- DIN sockets.
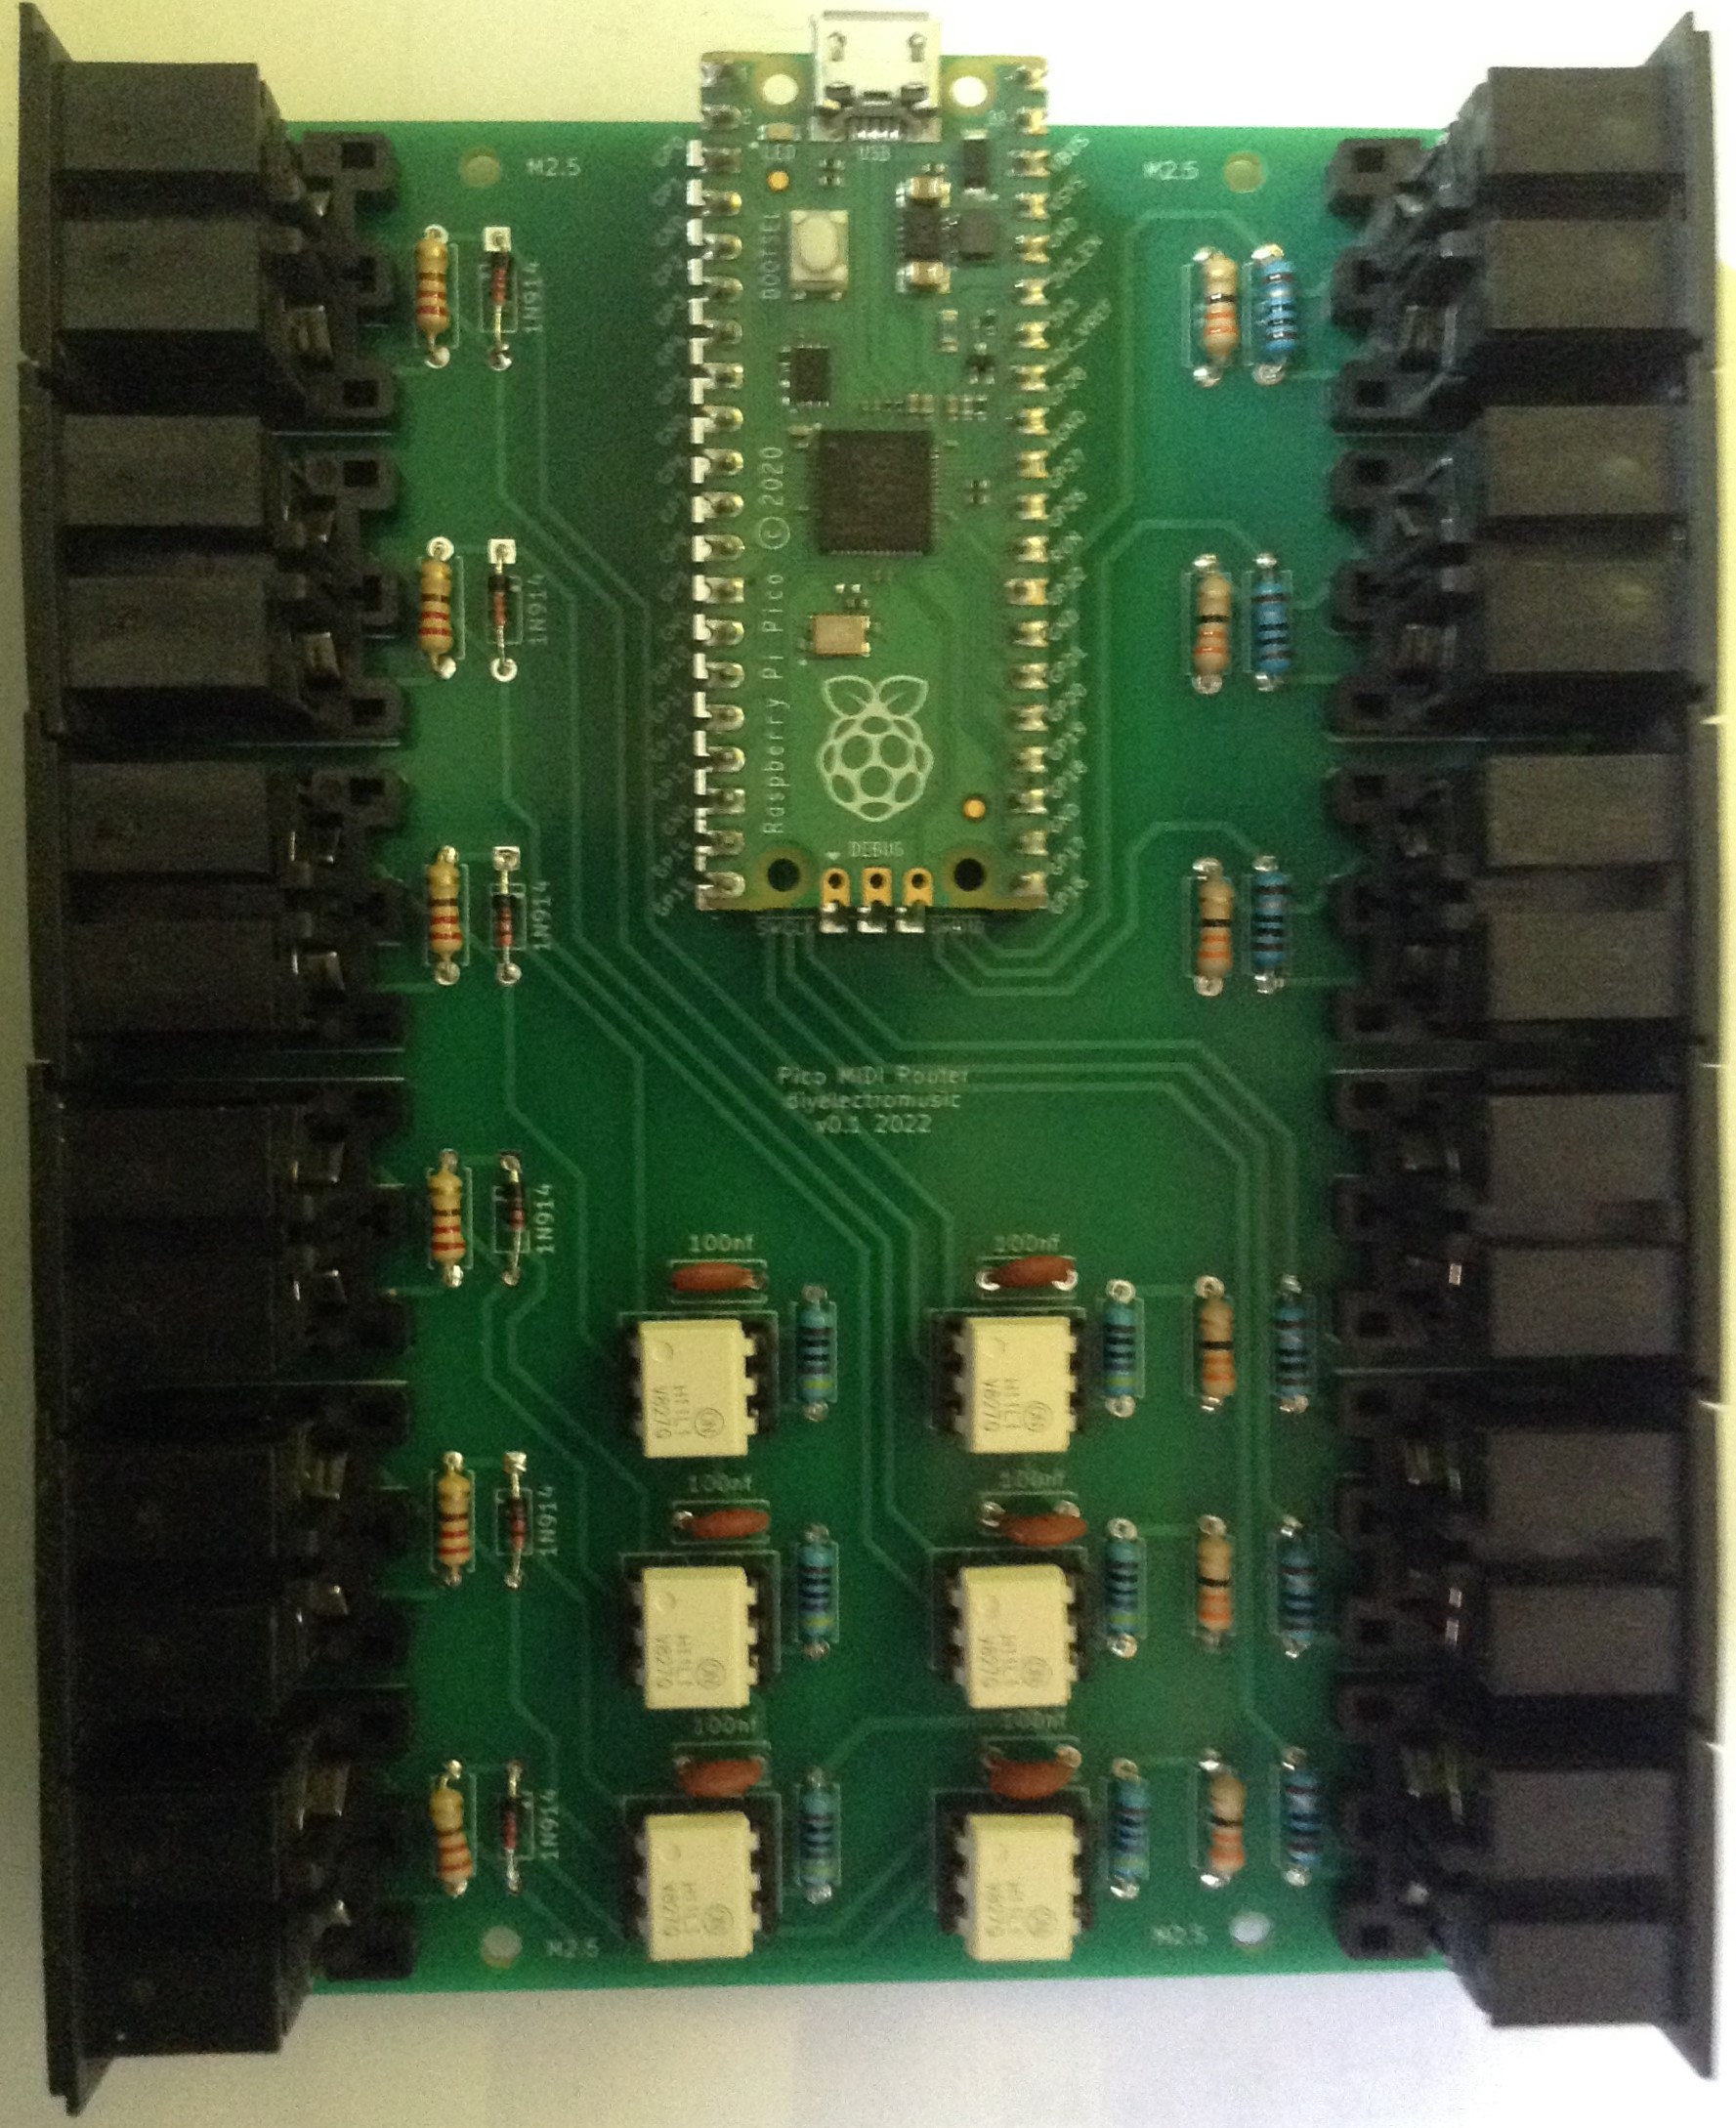
Here are some photos of the build in progress.


Testing
I recommend performing the general tests described here: PCBs.
There is some example code here: Raspberry Pi Pico Multi MIDI Router.
PCB Errata
Nothing has been found so far in terms of functionality, but if I reworked the board, I would add silkscreen labels for the MIDI sockets that are not under the sockets themselves!
It might also be useful to add which Pico GPIO pin they are hooked up to.
Also, as one commenter has suggested, it might be useful to add some additional breakouts to allow connections to the unused GPIO pins for further expansion.
Closing Thoughts
Once again, many thanks to Seeed Fusion for a discount that has enabled me to proceed with this slightly larger PCB. I think it has come out really well and am very happy with the finished board.
It has been really nice to watch the progress of this more complex idea from solderless breadboard through to protoboard through to an actual PCB!


Kevin

Great work Kevin! I’ll be testing this design soon. One suggestion: what about adding some holes to solder connectors for (some of) the unused pins of the Pico, so it would be easy to add more functionality (like a display or buttons)?
LikeLike
I have wondered about that, but then decided that pin headers could be used to attach the Pico which then allows connections to be made there, but yes, maybe I should be a little more pro-active at allowing use of the spare GPIO! 🙂
LikeLike
the arduino MIDI library works great on a pi. USB too !
LikeLike
Hello.
I liked this design, reminds me of a much more affordable version of the deftaudio interfaces.
I thought it would be an ideal basis for a 6in, 6out USB MIDI interface.
So I built one and modified some code that handles multi midi streams to do just that.
I’m not quite finished tidying up the code, but it seems to work (tested briefly in Reaper on Windows and Linux).
Github: https://github.com/Ming-Kerr/midi-multistream2usbdev
Cheers.
LikeLike
Hey that’s great! I keep meaning to do something properly with the C SDK rather than the python firmware. It looks like it was quite a straight forward change too!
Thanks for letting me know. I look forward to hearing about your final version 🙂
Kevin
LikeLiked by 1 person
It does work now, so people can try it out.
I had thought of swapping out a pico W and integrating bluetooth/wireless MIDI as well.
I believe it should be possible to “fill up” the IN and OUT with up to another 10 MIDI wireless devices without too much pain.
Even an http web config interface and advanced MIDI routing is possible with a pico W, with no change in your PCB design, AFAIK.
But do I have the time and the cutting and pasting of code capabilities? Ha!
LikeLiked by 1 person